Introduction
Customizing taskbar icons is not just about visual aesthetics; it significantly enhances your desktop’s feel and your productivity. Adjusting taskbar icons lets you transform standard visuals into representations of your style and preferences, creating a seamlessly personalized workspace that caters to both personal tastes and functional requirements. Whether you prefer a minimalist approach or a vibrant one, changing taskbar icons encapsulates this versatility. In this guide, we’ll delve into how to adjust these icons on Windows 10 and Windows 11, employ third-party tools for more intricate customizations, and even design your own icons.
Why Customize Your Taskbar Icons?
Modifying your taskbar icons can serve both aesthetic and functional purposes. Icons that resonate with your personal aesthetic or professional workflow streamline navigating your applications. This efficiency boost is significant: easily identifiable icons help you quickly access applications, which can lead to enhanced productivity. Furthermore, a customized desktop contributes positively to your mental engagement, making work or leisurely activities at your PC not just pleasant, but optimized to your liking.
Transitioning into the hands-on aspect, it’s essential to kick off by preparing adequately to ensure a smooth customization experience.
Preparation Before Customizing
Before you dive into customizing taskbar icons, ensure your system is ready. Updating your system can prevent compatibility hiccups with new files or third-party tools. It’s also prudent to have a backup of your current settings in case changes need reverting. Additionally, gather icon files or packs that align with your intended design. These preparatory measures ensure that your taskbar icon transition is both seamless and effective.
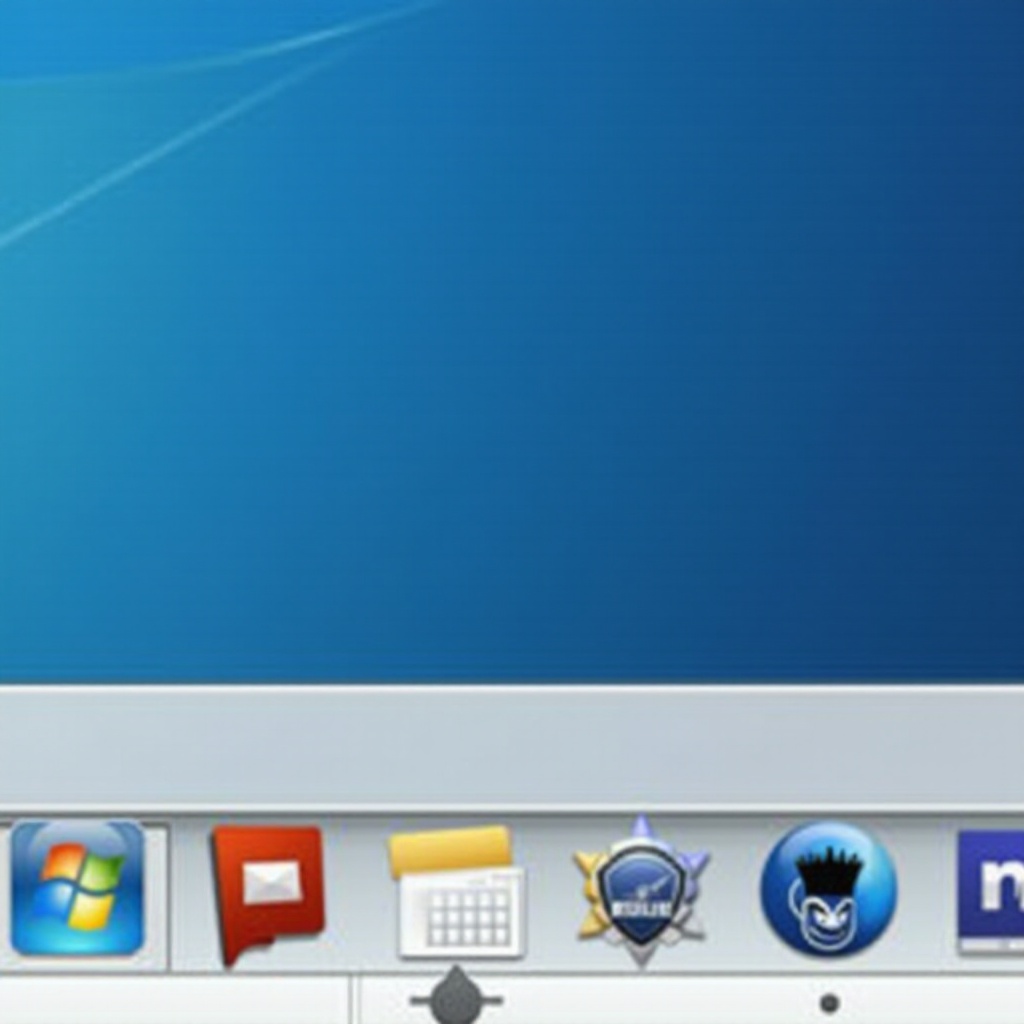
Changing Taskbar Icons on Windows 10
Let’s explore the taskbar customization for Windows 10:
-
Right-click the application icon you wish to alter on your taskbar, then select ‘Unpin from taskbar’.
-
Open the Start Menu and locate the app. Right-click it, selecting ‘More’ > ‘Open file location’.
-
If you don’t see the shortcut in the Start Menu, navigate via File Explorer to find it.
-
Right-click the shortcut in the File Explorer and open ‘Properties’. Under the ‘Shortcut’ tab, hit ‘Change Icon’.
-
Choose a new icon from the provided set or click ‘Browse’ to open your custom icon file.
-
Re-pin to the taskbar: Right-click the shortcut again and choose ‘Pin to taskbar’.
Once these steps are completed, your chosen application will display its new icon on the taskbar.
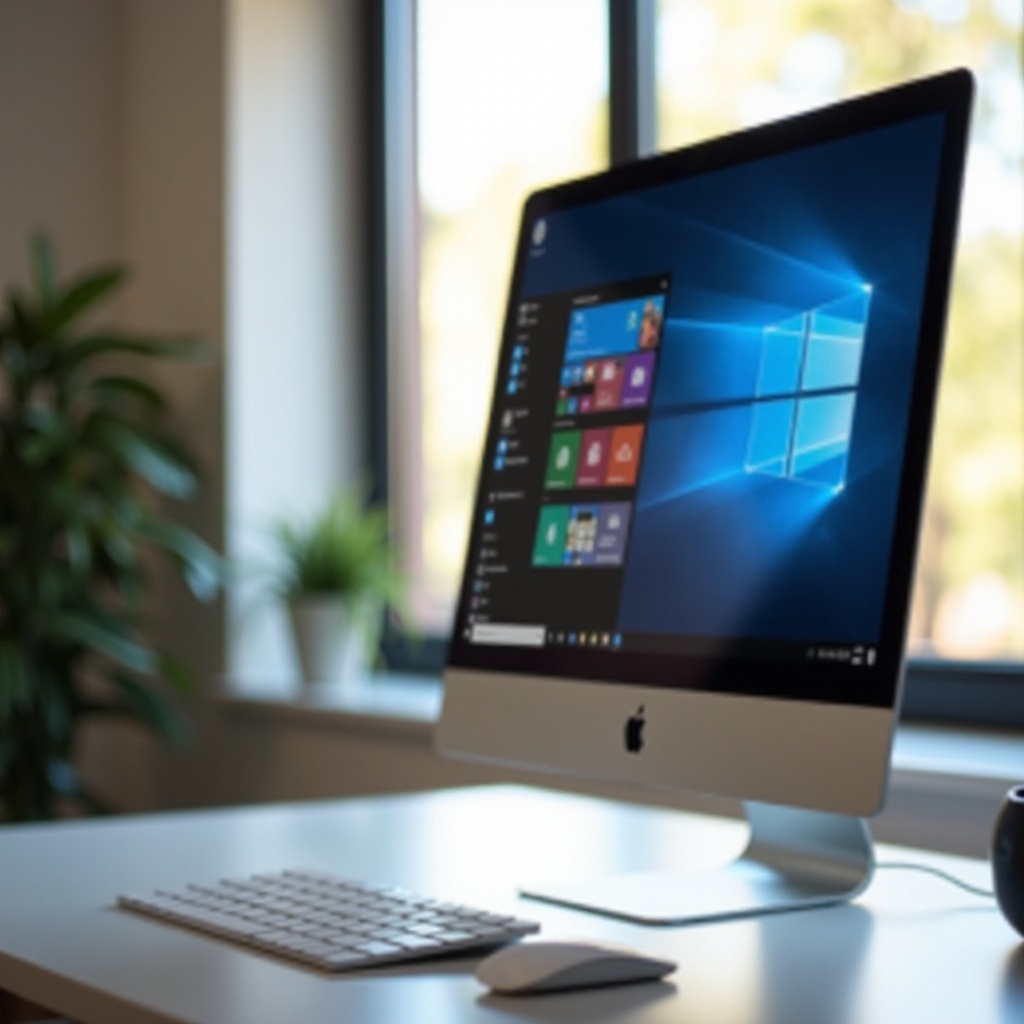
Changing Taskbar Icons on Windows 11
Customizing on Windows 11 mirrors the Windows 10 process, with slight interface deviations:
-
Begin by unpinning the existing icon: Right-click and select ‘Unpin from taskbar’.
-
Find the app in the Start Menu, right-click, then use ‘More’ > ‘Open file location’.
-
With the app located, right-click the shortcut, choose ‘Properties’, and head to the ‘Shortcut’ tab. Select ‘Change Icon’.
-
Choose from available icons or find your preferred version using ‘Browse’.
-
Lastly, re-pin to the taskbar by right-clicking and selecting the pin option.
Now your Windows 11 taskbar will uniquely reflect your chosen icon.
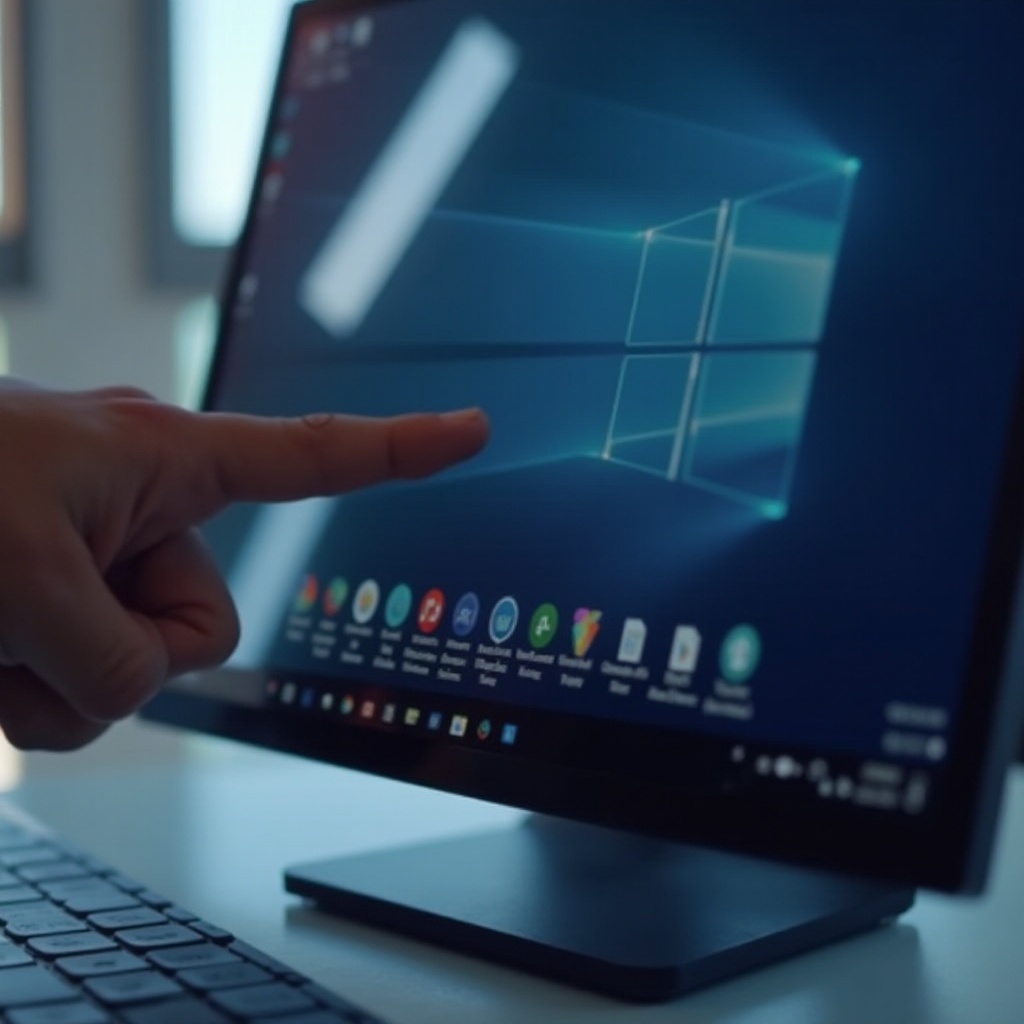
Using Third-Party Tools for Icon Customization
To extend customization beyond default Windows options, third-party tools like IconPackager or Stardock’s ObjectDock expand your icon library:
-
Select and install a trusted tool, ensuring it’s from a reputable vendor to avoid malware exposure.
-
Post-installation, browse through extensive icon sets accessible within the application.
-
Apply your selected icon set by following on-screen instructions these tools provide.
These tools unlock new design potentials that go well beyond native capabilities.
Creating and Designing Custom Icons
For a truly personalized touch, consider designing custom icons:
-
Choose graphic design software: While Adobe Illustrator is popular, free options like GIMP or Inkscape are equally powerful.
-
Craft your icon design: Utilize simple shapes and colors, ensuring the graphic is square to avoid warping.
-
Export it as an .ico file, which is the recognized format for Windows icons.
-
Implement your icon through steps outlined earlier, selecting your personal creation as the file to use.
This custom route offers an unmatched level of individuality for your desktop.
Best Practices for Taskbar Maintenance
Once you’ve personalized your taskbar, ongoing maintenance ensures it remains effective:
- Update icons regularly: Align icons with app updates to avoid obsolete shortcuts.
- Minimize pinned tasks: Keep only essential apps on display to maintain a neat appearance.
- Archive icon files: Save custom icons in a dedicated folder for easy retrieval during re-installs or system updates.
Conclusion
Customizing taskbar icons empowers you to enhance both the aesthetic appeal and functional efficiency of your desktop environment. Whether utilizing Windows built-in features, third-party applications, or your creative skills to design icons, you can master your desktop’s appearance. Embrace these strategies and let your taskbar reflect and complement your computing environment.
Frequently Asked Questions
How can I revert back to the original taskbar icons?
To revert to original icons, follow the customization steps and select the default icon from the icon library. You can also perform a system restore if extensive changes make it challenging to revert manually.
Are there risks involved in using third-party tools for icon customization?
Yes, there is a risk of downloading malicious software. Always download from reputable sites and read user reviews. Ensure you have a reliable antivirus to safeguard your PC.
What should I do if my taskbar icons do not update after customization?
First, try restarting your computer to refresh the taskbar. If that doesn’t work, unpin and then pin the icon again. Sometimes, clearing the icon cache can resolve update issues.