Introduction
In today’s fast-paced world, a seamless media experience can significantly enhance productivity and enjoyment. For Mac users, enabling autoplay is a powerful tool that streamlines media consumption by automatically playing videos and music without the need for manual prompts. This can be particularly advantageous for those utilizing continuous playlists and media applications. Whether you’re an enthusiast or a casual user, mastering autoplay on your Mac can make a substantial difference in your daily routine.
Understanding the nuances of autoplay on Mac is crucial. This guide will take you through the steps required to enable autoplay, tailor it to suit various applications, and troubleshoot potential issues. By the end of this article, you’ll be equipped with the knowledge to customize autoplay settings, ensuring a more efficient audio-visual experience.
Understanding Autoplay on Mac
Autoplay is a feature on Mac computers that allows media files—audio, video, and more—to begin playing automatically when a disc is inserted or when a media application is launched. This feature is designed to lower manual interaction and promote a seamless flow of entertainment and information. However, it’s typically not enabled by default, owing to user control concerns and efforts to preserve battery life.
Comprehending how autoplay works can aid you in optimizing your Mac’s performance. The settings may vary depending on whether you’re working with audio files, video content, external devices, or specific applications. Grasping the scope of autoplay empowers you to configure your system to best align with your needs.
Steps to Enable Autoplay on Your Mac
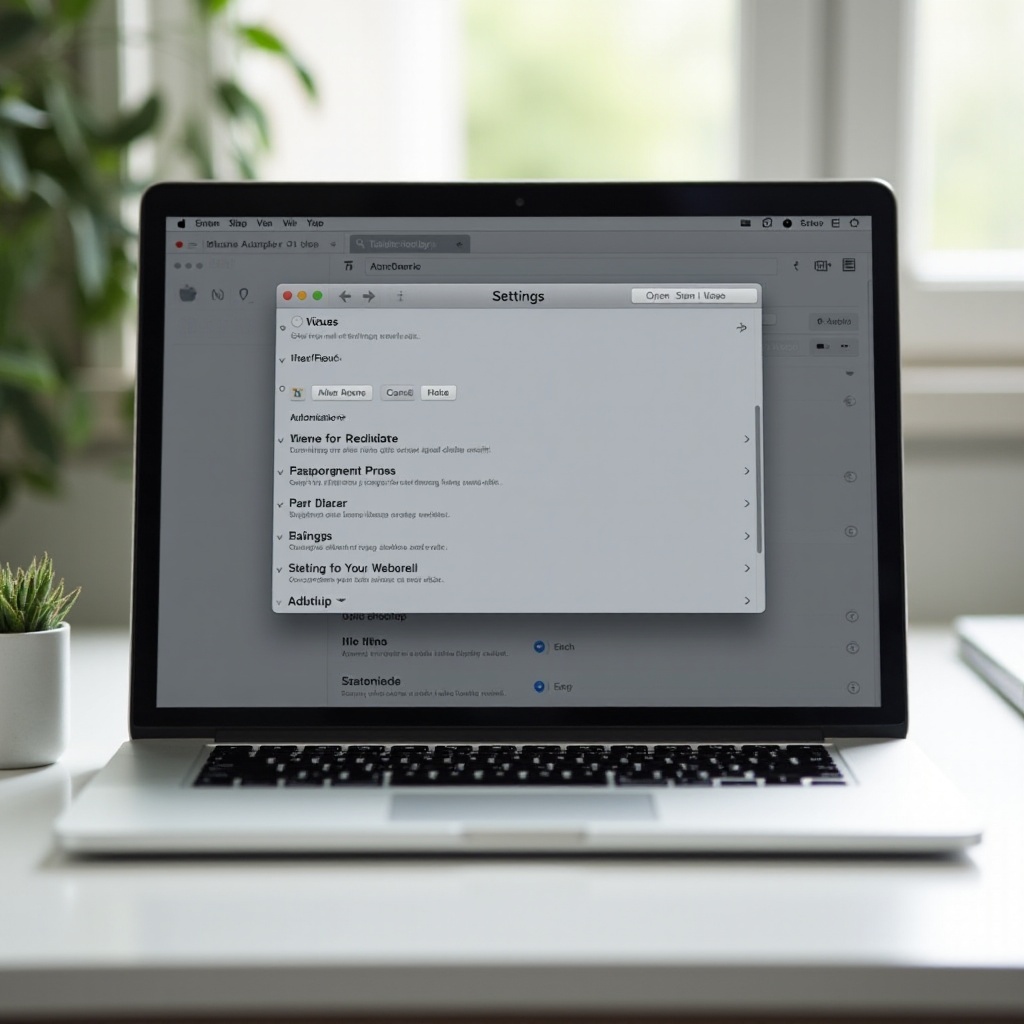
Activating the autoplay feature requires accessing your Mac’s settings. Here’s a step-by-step guide:
Accessing System Preferences
- Click the Apple menu in the top-left corner of your screen.
- Select ‘System Preferences’ from the dropdown menu.
Adjusting Settings for Different Media Types
- Within System Preferences, select ‘CDs & DVDs’ if you’re aiming to set autoplay for these media types.
- You’ll see options such as ‘When you insert a music CD’ or ‘When you insert a video DVD.
- Choose ‘Open iTunes’ or another media app for each option, enabling autoplay when a disc is inserted.
Verifying Autoplay Activation
- Insert the media type you’ve configured (like a CD or DVD).
- Check if the corresponding application automatically opens and begins playback.
Following these steps will enable the autoplay settings on your Mac, facilitating a more hands-free interaction with your media.
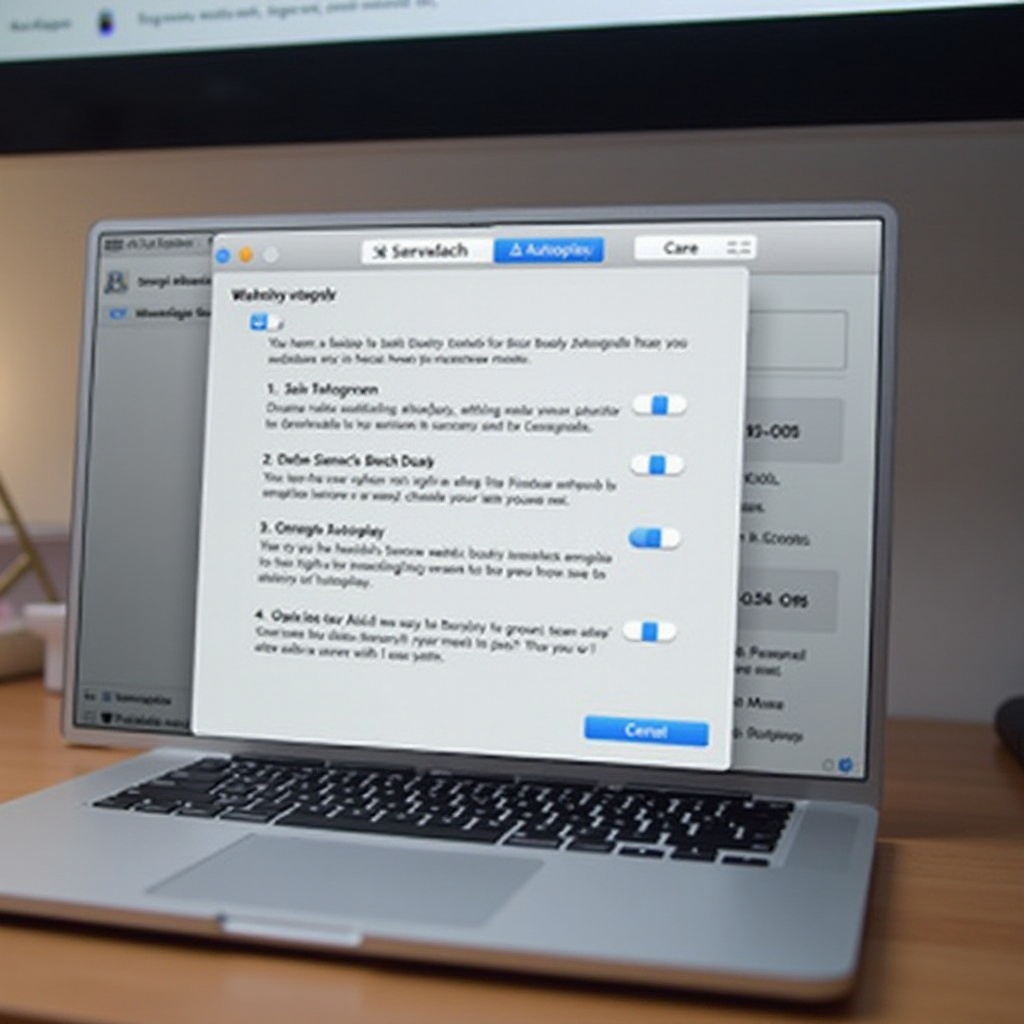
Customizing Autoplay Settings
Having enabled autoplay, you can further personalize it for specific applications and devices to make your Mac usage more tailored and efficient.
Personalizing Autoplay for Specific Applications
- Launch the desired media application (e.g., iTunes, QuickTime).
- Access the application’s preferences.
- Locate the autoplay settings within preferences to decide how and when media should start automatically.
Managing Autoplay Across External Devices
- Connect your external device (such as a USB drive) to your Mac.
- Open ‘Finder’ and choose ‘Preferences’ from the menu.
- Select the ‘General’ tab.
- Ensure ‘Open folders in tabs instead of new windows’ is enabled, allowing suitable external devices to autoplay content more smoothly.
Customizing these settings offers you greater flexibility and control, adjusting autoplay functions to fit your personal requirements better.

Troubleshooting Autoplay Issues
Despite its convenience, you might face issues with autoplay on your Mac. Here are some solutions:
Checking Compatibility and Permissions
- Make sure your Mac is using the latest software version, as outdated versions can lead to compatibility problems.
- Check that necessary permissions have been granted in ‘System Preferences’ > ‘Security & Privacy’ for each application.
Resolving Common Autoplay Glitches
- If autoplay isn’t functioning, restart your Mac to clear temporary glitches.
- Double-check application settings to ensure autoplay is enabled, as updates may reset configurations.
Using Third-Party Tools for Enhanced Functionality
- Explore third-party tools like VLC Media Player, which might offer advanced autoplay features.
- These applications can often circumvent the limitations present in Mac’s native settings, providing more comprehensive control over autoplay.
By employing these troubleshooting methods, you can overcome common hurdles and make sure autoplay operates as anticipated.
Conclusion
Enabling autoplay on your Mac revolutionizes your media consumption habits, bringing greater convenience and time-saving features. From navigating system preferences to customizing settings and addressing issues, this guide equips you with the necessary skills to optimize autoplay on your device.
Whether for leisure or efficiency, tailoring autoplay settings to your preferences enriches your multimedia experience on Mac. Dive deeper into these functionalities to harness the full potential of your Apple ecosystem.
Frequently Asked Questions
How can I reset Autoplay settings on my Mac?
Navigate to ‘System Preferences,’ then select ‘CDs & DVDs’ and reset all preferences to default.
Does Autoplay work with all media formats?
Not all media formats support autoplay. Ensure compatibility by checking the application’s documentation or preferences.
How do I disable Autoplay for specific apps?
In the app settings, find the autoplay option and disable it to prevent media from automatically playing upon launch.