Introduction
Windows 11 introduces Snap Layouts, a revolutionary feature that redefines multitasking, allowing users to manage multiple applications on a single screen without the usual clutter. Customizing these Snap Layouts enables you to tailor your workspace precisely to your personal workflow, which can significantly boost productivity. This guide will walk you through the steps needed to customize Snap Layouts for your unique requirements. Whether balancing multiple projects, conducting research while drafting content, or collaborating remotely, personalizing Snap Layouts in Windows 11 will transform your work environment. Learn to create tailor-made layouts, leverage sophisticated functionalities, and navigate common hurdles to maximize your Windows 11 experience.
Discovering Windows 11 Snap Layouts
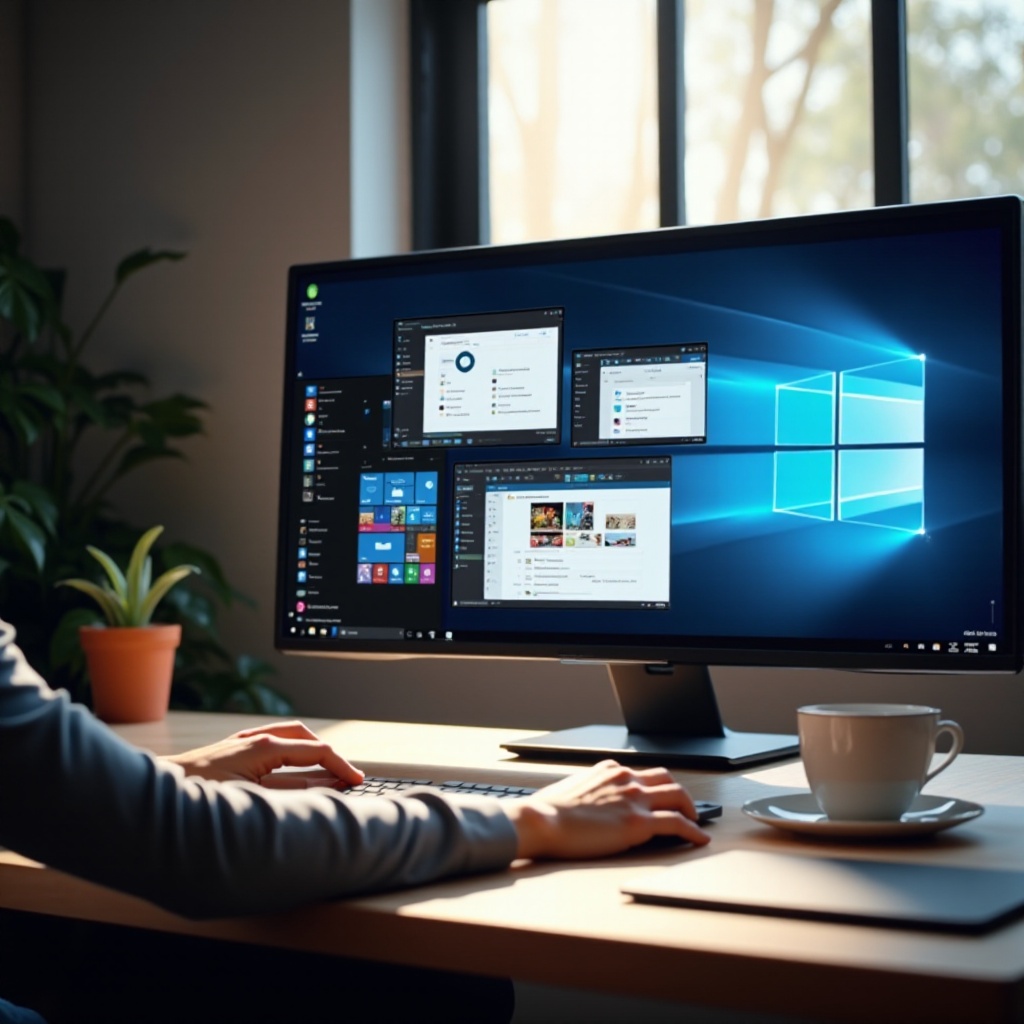
The traditional window snapping found in earlier versions of Windows has been greatly enhanced by Snap Layouts in Windows 11. It introduces multiple grid-based window configurations accessible through a simple hover of the maximize button. Whether you’re using a large monitor or a smaller laptop display, Snap Layouts provide an efficient method to arrange apps. This allows for easy switching between tasks, aligning smoothly with contemporary computing demands.
Snap Layouts cater to a variety of applications while optimizing the available screen space. They are especially useful for those maneuvering complex workflows or engaging in extensive remote work arrangements. Transitioning from traditional snapping to Snap Layouts demonstrates Windows 11’s commitment to improving user experience through streamlined multitasking.
Advantages of Customizing Snap Layouts
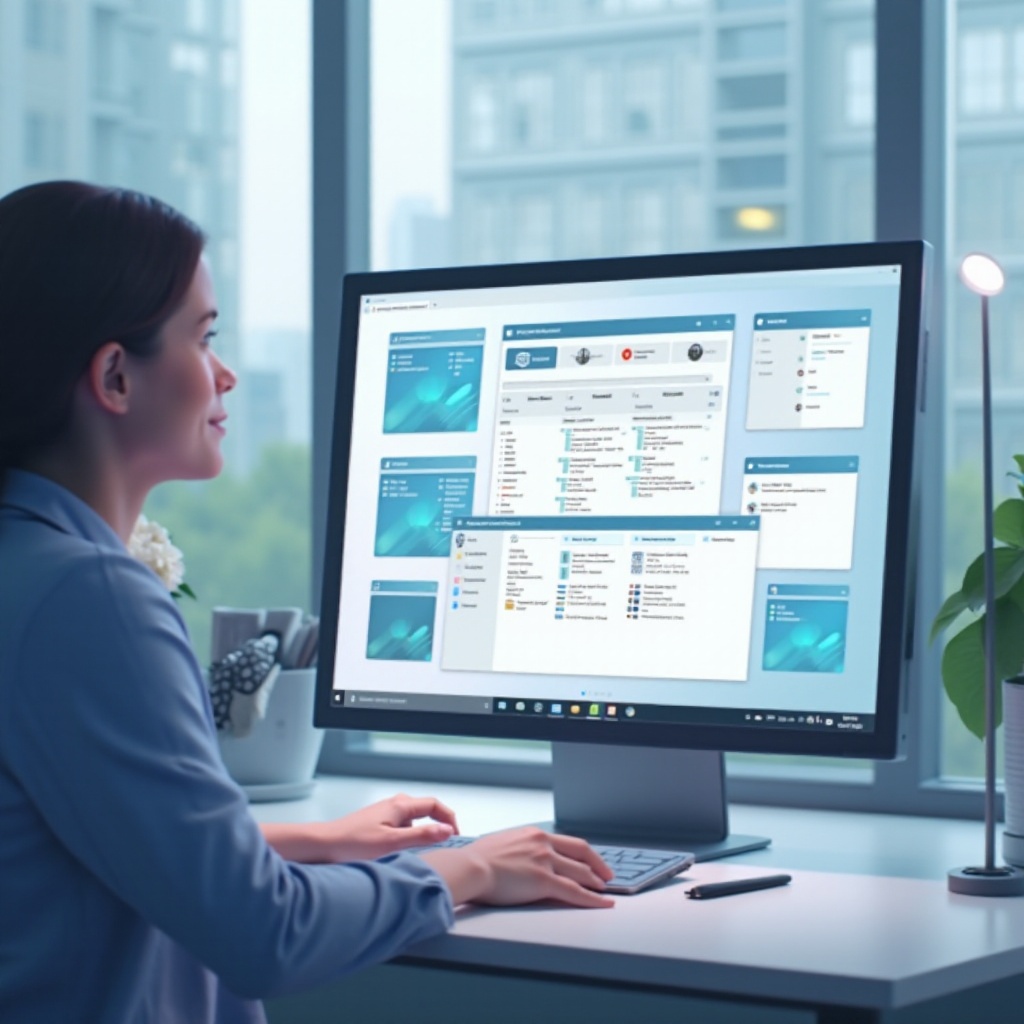
Customizing Snap Layouts offers several key advantages. By allowing users to arrange applications according to their preferences, Snap Layouts facilitate improved task management and efficiency. Custom layouts empower users to take charge of their digital workspaces, ensuring quicker access and better task organization.
Moreover, these layouts minimize clutter, presenting a neat, visible arrangement that ensures each window is purposeful. This organization reduces the time spent searching through overlapped windows, minimizing the mental effort required for task switching. Customization helps establish a focused, controlled work environment, contributing to enhanced productivity and reduced stress.
Step-by-Step Guide to Customizing Snap Layouts
Accessing Snap Layouts Features
To begin customizing your Snap Layouts:
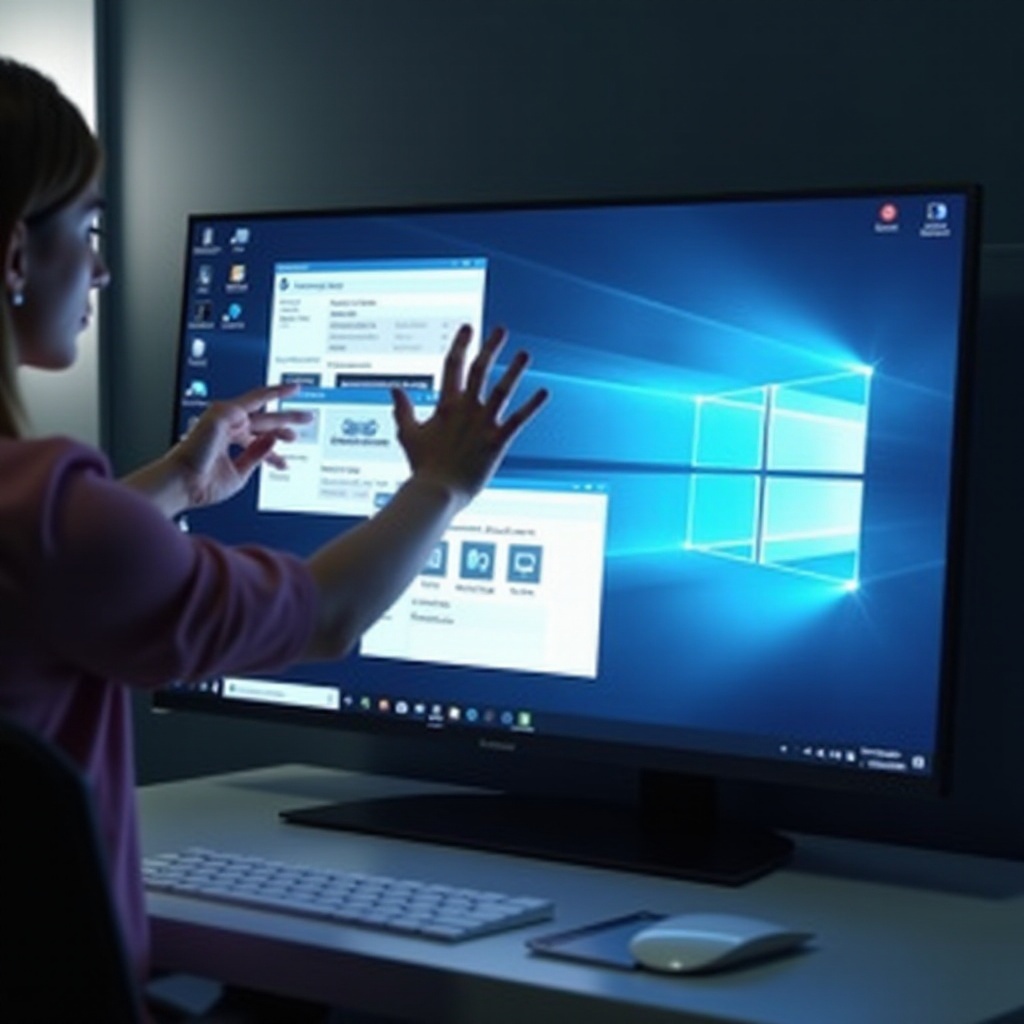
- Hover over the maximize button on an active window to reveal available Snap Layouts.
- Select a layout that aligns with your current workflow or task.
- Drag and drop open windows into designated sections of the layout for simultaneous management.
Creating and Saving Custom Layouts
To personalize and save Snap Layouts:
- Pick an existing Snap Layout to start organizing your applications.
- Drag windows into desired positions within the layout.
- Activate your layout by clicking it, fitting windows into place automatically.
- Windows 11 will remember your setup, suggesting resets during reboots or task adjustments.
Managing and Modifying Layouts
Modifying your layouts is straightforward:
- Identify necessary changes in your current layout.
- Move applications between sections as needed.
- For a fresh setup, remove applications by dragging them out of the layout area.
Advanced Customization Techniques
Using Keyboard Shortcuts
Maximize efficiency with these shortcuts:
- Use ‘Win + Z’ to quickly open Snap Layouts.
- ‘Win + Arrow keys’ help navigate and position windows within selected layouts.
- These familiar shortcuts enhance adaptability to new Snap Settings.
Integrating with External Displays
For users with multiple screens:
- Snap Layouts smoothly adapt to multi-monitor configurations.
- Customize differing Snap Layouts on each monitor for varied tasks.
- When connecting an external display, Windows 11 may prompt you to extend Snap Layouts across both, enhancing multitasking.
Solving Common Snap Layout Challenges
Users might experience occasional Snap Layout hiccups. If Snap Layouts aren’t visible, check that your Windows is up-to-date and the feature is enabled in Settings > System > Multitasking. Misaligned layouts might require adjusting your display settings to match the recommended resolution, while some older applications may not support Snap Layouts.
Conclusion
Customizing Snap Layouts in Windows 11 offers unparalleled efficiency in managing desktop space, appealing to creatives, professionals, or anyone seeking organization in digital activities. As you align these layouts with your daily tasks, productivity improves, minimizing disruption from task-switching. By employing the tips and techniques provided here, you can experience the revolutionary transformation in your workflow with Windows 11. Seamlessly adapt to complex demands for a more streamlined, effective, and satisfying computing experience.
Frequently Asked Questions
How do I access Snap Layouts in Windows 11?
Hover over the maximize button on any window, or press ‘Win + Z’ for quick access.
Can I create custom snap layouts across multiple monitors?
Yes, Snap Layouts seamlessly integrate across multiple displays, enhancing multitasking.
What should I do if my custom snap layout is not working properly?
Check for Windows updates, ensure Snap Layouts are enabled, and adjust your display settings to the recommended resolution.