

Introduction
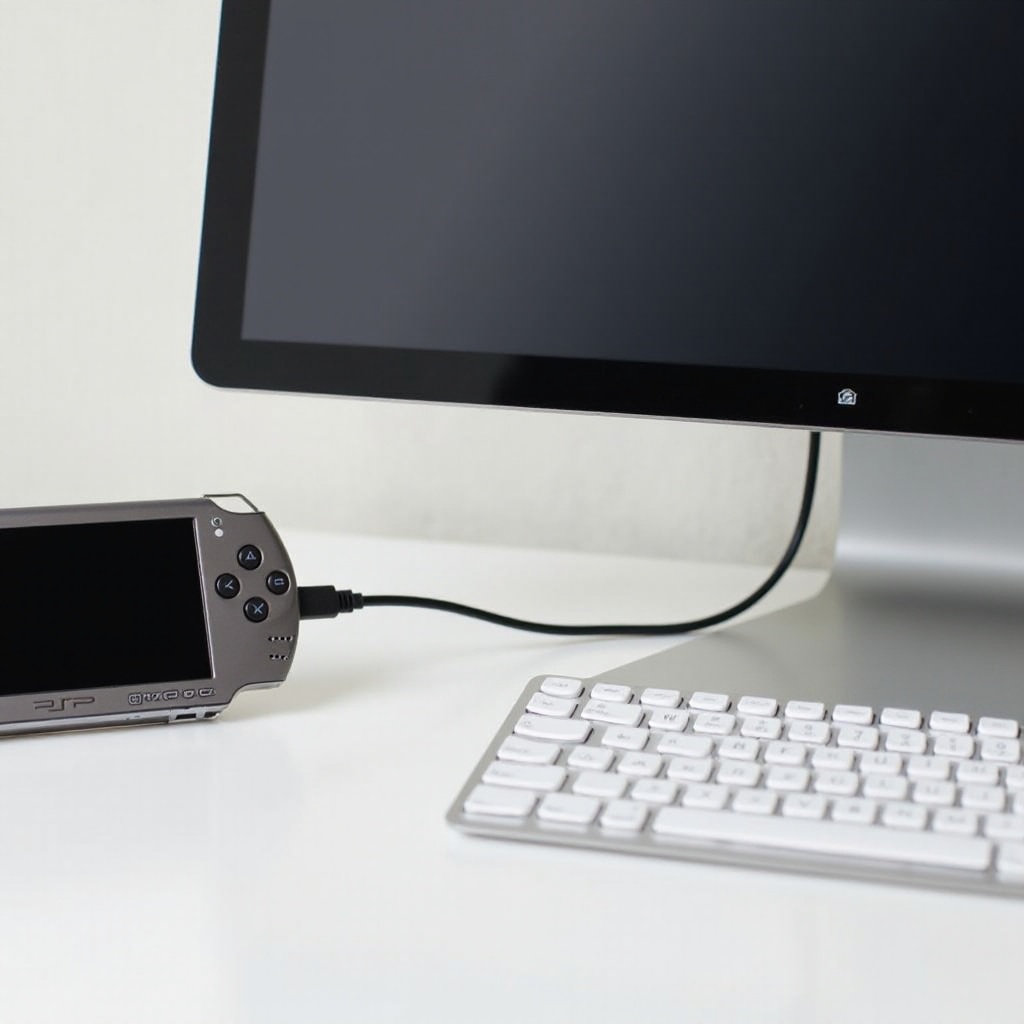
The PlayStation Portable (PSP) is not just a gaming device; it’s a portal to a broader multimedia experience. By connecting your PSP to a computer, you unlock new capabilities like transferring media, backing up data, and performing software updates. In this guide, we’ll take you through the process of establishing a connection between your PSP and a computer, ensuring you maximize what your device has to offer.
Why Connect Your PSP to a Computer?
Connecting your PSP to a computer offers several advantages:
-
Multimedia File Transfer: Easily transfer music, videos, and images to and from your PSP.
-
Data Backup: Protect your progress by backing up saved games.
-
Software Updates: Keep your PSP updated with the latest features and improvements.
-
Enhanced Functionality: Expand your PSP’s potential with additional computer-based applications.
Understanding these benefits sets the stage for gathering the right equipment and preparing your devices for a successful connection.
Necessary Equipment and Preparation
Before you begin the connection process, ensure you have all required tools.
Equipment Required
-
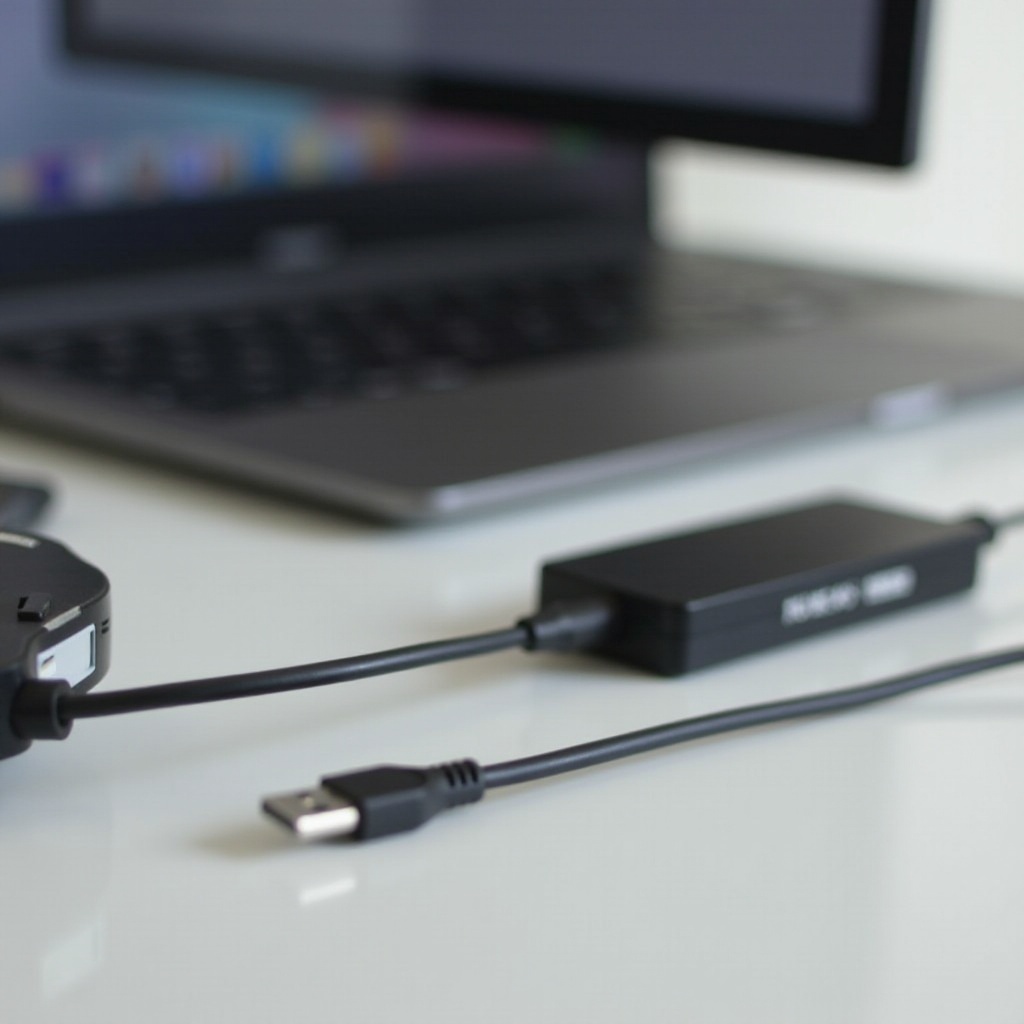
USB Cable: Ensure you have a standard mini-USB cable that fits your PSP model.
-
Computer: A functional PC or laptop with available USB ports.
-
Memory Stick Duo: Make sure your PSP contains a memory card for storage purposes.
Preparing Your PSP for Connection
-
Ensure Charge: Fully charge both devices to prevent interruptions during data transfer.
-
Firmware Check: Update your PSP to the latest firmware version via ‘Settings.
Having your equipment and devices ready, you are now prepared to proceed with establishing the connection.
Step-by-Step Guide to Connecting Your PSP
Establishing a stable connection involves a series of straightforward steps.
Switching Your PSP to USB Mode
- Power on your PSP and navigate to the ‘Settings’ menu.
- Select ‘USB Connection’ to activate USB mode, allowing your computer to detect the device.
Establishing the USB Connection
- Connect the USB cable to the PSP and plug it into the computer’s USB port.
- Wait as the computer recognizes a new device has been connected.
Recognizing the PSP on Your Computer
- Open the file explorer or finder on your computer.
- Locate the PSP listed under connected devices.
By completing these steps, your PSP should be successfully connected and displayed on your computer, ready for file management.
Transferring Files Between PSP and Computer
Once the devices are connected, file transfer becomes a simple task.
How to Transfer Music and Videos
- Navigate to PSP Folder: Access the PSP’s folder on your computer’s file explorer.
- Drag and Drop: Select desired media files and drag them into the appropriate folders on your PSP.
Managing Game Saves and Data
- Backup: Create a dedicated backup folder on your computer, copying saved data from the PSP ‘GAME’ folder.
- Restore: To restore data, copy files from the backup back into the PSP’s ‘GAME’ directory.
Ensuring Data Safety
- Always wait for file transfers to complete fully before disconnecting the PSP.
- Use the computer’s ‘eject’ function to safely remove the PSP, protecting against data corruption.
After mastering file transfers, it’s essential to troubleshoot potential connectivity issues.
Troubleshooting Common Connection Issues
While connecting the PSP should be straightforward, issues may occasionally arise.
Connection Errors
- Verify that both ends of the USB cable are securely attached.
- Try other USB ports or a different USB cable to confirm equipment functionality.
File Transfer Problems
- Ensure that your PSP has enough available storage space.
- Confirm that files are in formats supported by the PSP.
Data Safety and Security
- Maintain updated antivirus software on your computer to protect both devices from potential threats during connection.
With these troubleshooting strategies in mind, you can keep your devices functioning optimally. Now, let’s explore some advanced integration tips.
Advanced Tips for PSP and Computer Integration
For users looking to maximize their experience, here are advanced techniques to consider:
Using Third-Party Software
- Media Management: Utilize software like Media Go for efficient media management between PSP and computer.
- Remote Play: Discover options for connecting your PSP wirelessly within compatible networks.
Optimizing Data Transfer
- Ensure your internet connection is stable and robust when downloading updates or additional data.
By implementing these techniques, you further integrate your PSP with your computer, enhancing usability and functionality.
Conclusion
Successfully connecting your PSP to a computer enhances your gaming and media experience. By following the steps outlined in this guide, you’ve learned to transfer files, update software, and troubleshoot common issues. Use these skills to fully explore the capabilities of your PSP, ensuring you get the most out of this versatile gaming device.
Frequently Asked Questions
How do I update my PSP software after connecting it to a computer?
After connecting your PSP to a computer, navigate to the PSP’s system update option in the ‘Settings’ menu and follow the on-screen instructions.
What should I do if my computer doesn’t recognize my PSP?
Ensure the USB cable and ports are functioning correctly. You may also need to reinstall necessary drivers on your computer or try a different USB port.
Can I connect my PSP to a computer wirelessly?
Direct wireless connections are generally not supported, but certain applications and remote play features can enable wireless access through compatible networks.