Introduction
Screen damage on your Chromebook can bring your activities to a halt, disrupting both work and personal tasks. Whether it’s a cracked display, flickering screen, or an unresponsive panel, knowing how to replace an Acer Chromebook screen is a valuable skill. It not only saves you money but gives you control over minor tech repairs. This comprehensive guide will take you through the process, ensuring you’re well-prepared and confident.
Understanding Your Acer Chromebook Model
The first step towards a successful screen replacement is identifying your specific Chromebook model. It’s crucial because choosing the wrong screen can lead to compatibility issues. You can locate the model number on the device’s underside or in the settings menu beneath ‘About Chrome OS.’ With this knowledge, you can ensure the replacement screen you purchase enhances your repair process rather than complicates it.
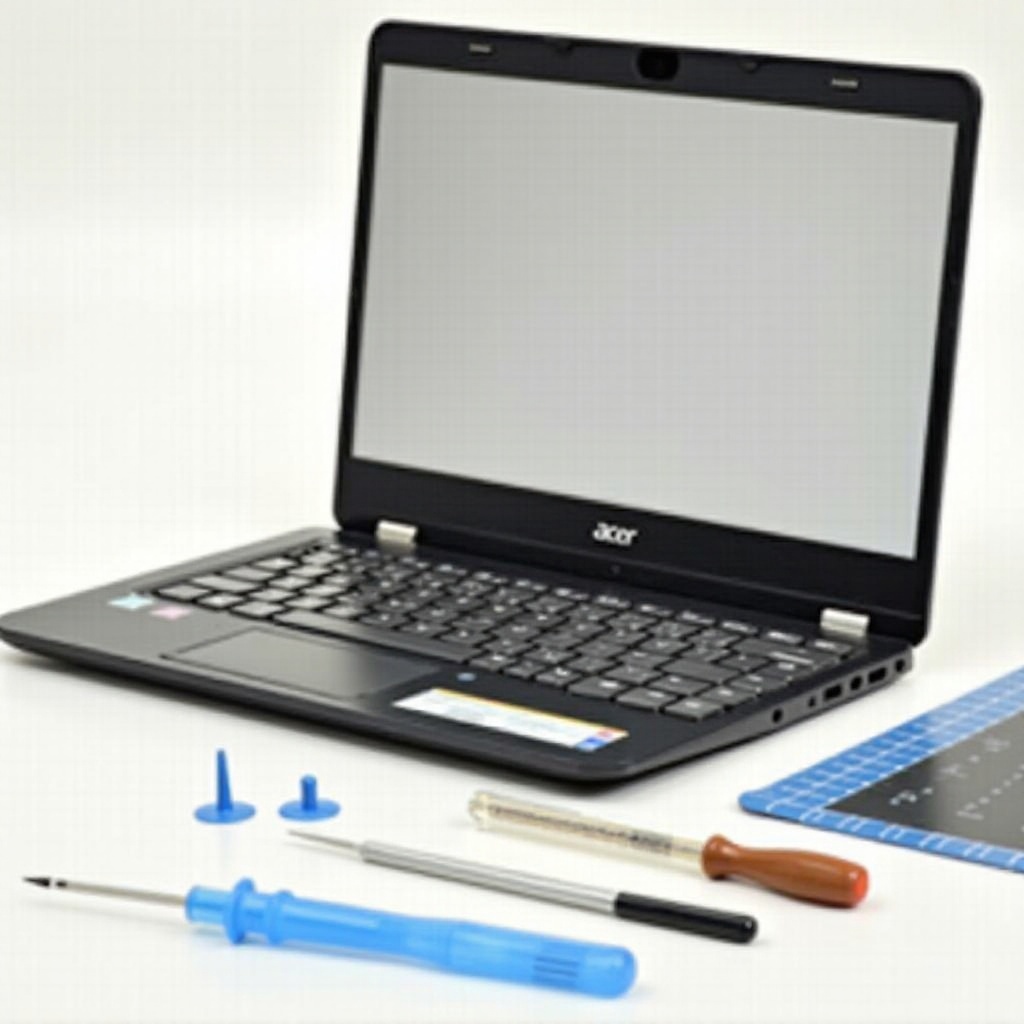
Tools and Materials Needed
Equipping yourself with the proper tools and materials is essential for a hitch-free repair process. You’ll need:
– A precision screwdriver set
– A plastic spudger or guitar pick for bezel removal
– Anti-static wrist strap (recommended)
– A clean, flat workspace
– Compatible replacement screen for your Acer Chromebook model
Gathering these items beforehand will smooth out the replacement process and minimize potential delays.
Preparing for Screen Replacement
Preparation lays the groundwork for successful screen replacement. After assembling your materials, take these steps:
1. Backup your data to safeguard against any loss.
2. Shut down your Chromebook completely.
3. Unplug any connected peripherals and power sources.
4. Set up your device on a flat, static-free surface for optimal repair conditions.
Being methodical in your preparation ensures that when you begin the repair, you do so in a safe, organized environment that reduces the risk of damage.
Step-by-Step Guide to Replacing Your Acer Chromebook Screen
Let’s walk through the screen replacement process, step by step:
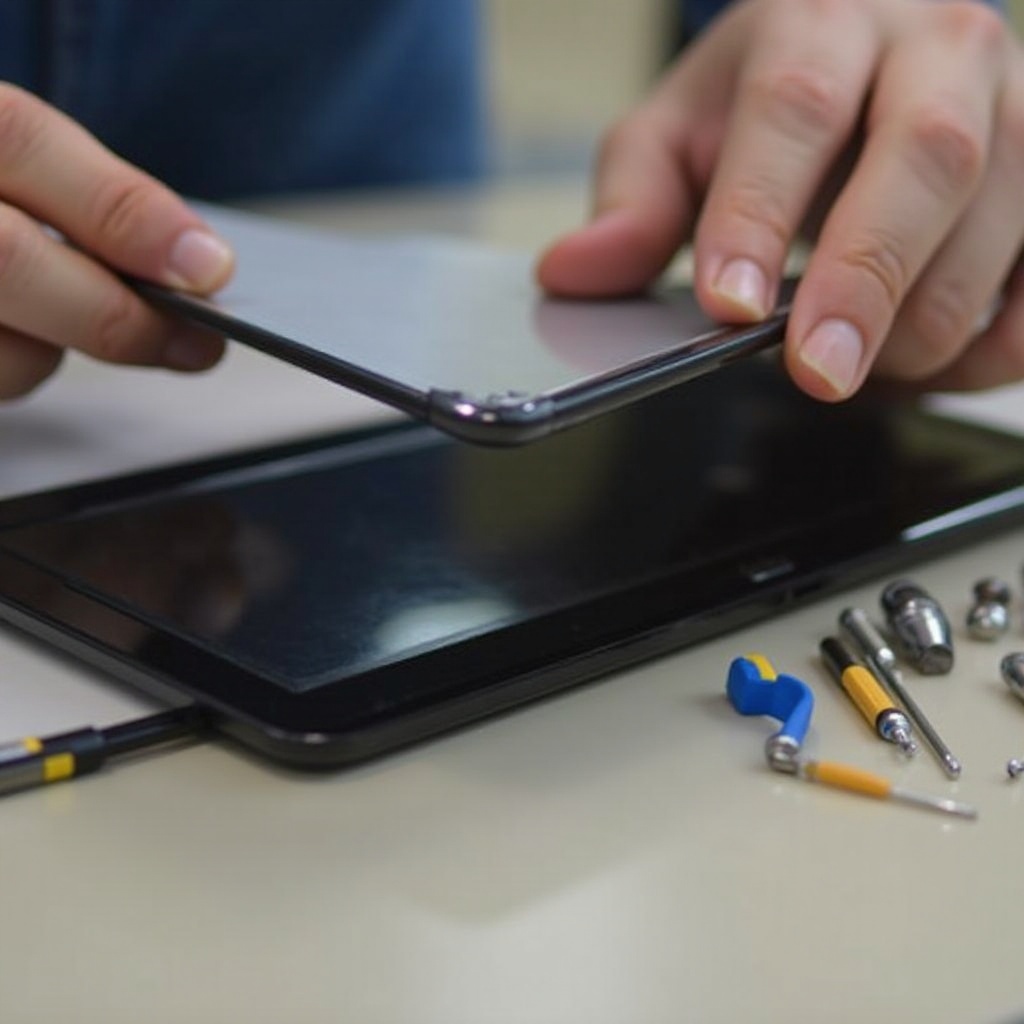
Removing the Bezel
- Use the plastic spudger to begin prying away the bezel gently from the screen.
- Carefully work around the edges to prevent breaking.
- Once removed, set the bezel aside.
Disconnecting the Damaged Screen
- Find the screws that hold the screen and remove them with the screwdriver.
- Tilt the screen forward carefully.
- Disconnect the video cable with precision to avoid damage.
Installing the New Screen
- Align the new screen properly with the mounting brackets.
- Reconnect the video cable to the new screen.
- Secure the screen with screws, ensuring a snug fit.
Reassembling Your Chromebook
- Reattach the bezel, pressing around the edges to ensure clips are well secured.
- Verify all components are properly affixed.
Testing the New Screen
- Power on the Chromebook to test the screen’s functionality.
- Look for issues like dead pixels or misalignment.
- Re-examine any connections or screws if issues occur.

Troubleshooting Common Issues
Sometimes things don’t go perfectly. Should the new screen not power on, double-check the cables and ensure the device has power. For display issues, revisit cable connections and alignment of components. If cracking sounds arise during reassembly, confirm that no parts are trapped or misaligned. These steps will assist you in overcoming obstacles efficiently while maintaining repair progress.
Tips for Maintaining Your New Screen
To extend the life and performance of your new screen:
– Clean regularly using a microfiber cloth.
– Employ a case or cover for physical protection.
– Handle your Chromebook with care to prevent impact or stress on the display.
These practices lead to a longer life for your screen, maximizing the value of your effort.
Conclusion
Replacing your Acer Chromebook screen can seem intimidating, but with the right tools and a clear guide, you can manage this DIY task confidently. This guide empowers you with the needed steps to ensure your Chromebook is up and running in no time, saving you both time and money.
Frequently Asked Questions
What should I do if my new screen isn’t working?
Double-check all connections, especially the video cable, and ensure the screen is compatible with your Chromebook model.
Can I replace my Chromebook screen myself, or should I hire a professional?
If you are comfortable handling electronics, follow this guide to replace it yourself. For uncertainties, professional services are recommended.
How can I extend the life of my new Acer Chromebook screen?
Use a protective cover, clean it regularly, and handle your device carefully to prolong screen longevity.