

Introduction
Setting up a Samsung Smart TV can be an exciting and rewarding experience, especially if you take a structured approach to maximize its features. This guide provides a detailed walkthrough of the setup process from unboxing to troubleshooting, ensuring you get the most out of your new TV. With step-by-step instructions focused on ease of use and optimal performance, you’ll master essential tasks like connecting to the internet, adjusting picture and sound settings, exploring smart features, configuring your remote, and keeping your software updated. Follow along to unlock the full potential of your Samsung Smart TV and enjoy unparalleled home entertainment.
Unboxing and Preparing Your Samsung Smart TV
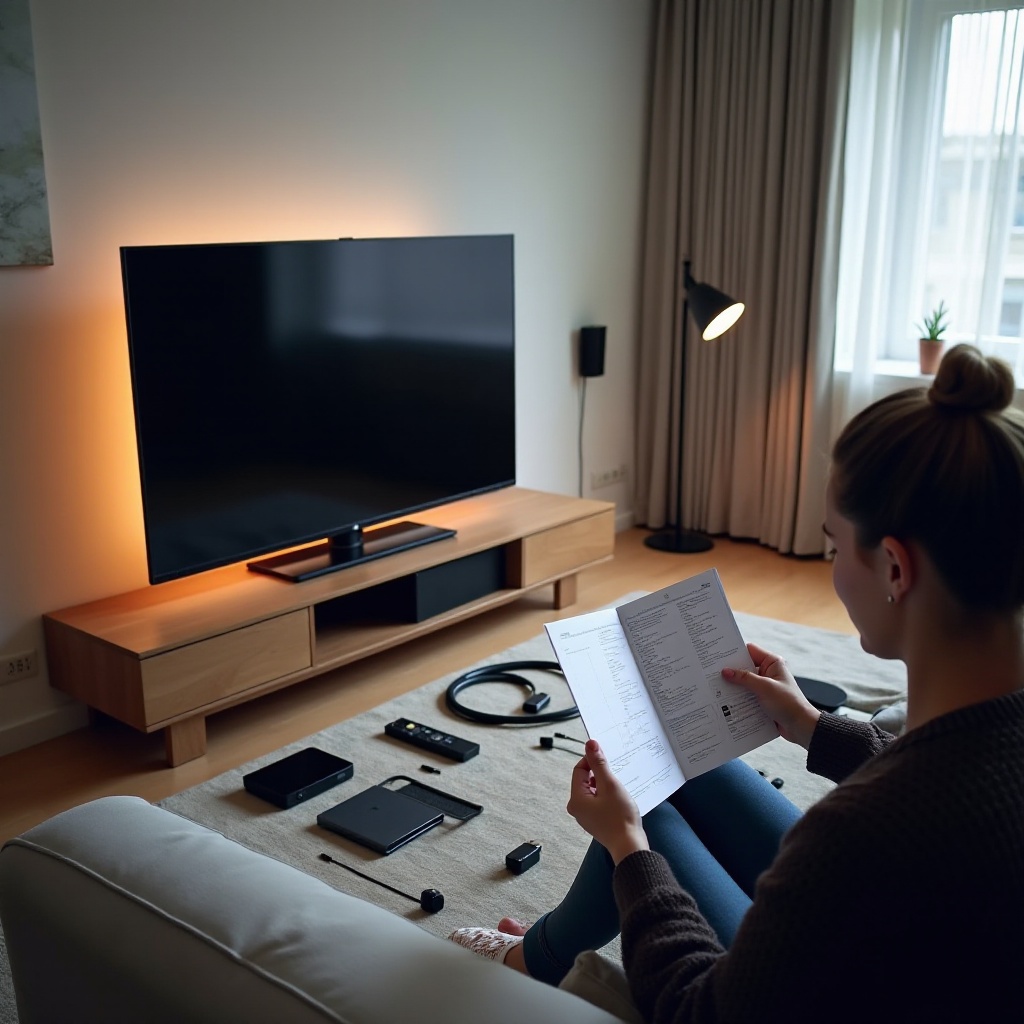
Carefully unboxing your Samsung Smart TV is the first step in ensuring a smooth setup. Here’s how to do it safely:
- Open the Box Carefully: Lay the box flat on a clean surface. Cut the tape gently to avoid damaging the contents.
- Remove the TV and Accessories: With the help of a partner, lift the TV from the box. This prevents accidental dropping and damage. Place it on a sturdy, flat surface.
- Check for Accessories: Confirm all components are present, including the stand, remote, power cable, and user manual.
- Install the Stand or Mount: Refer to the user manual for instructions. For wall-mounting, ensure the wall can support the TV’s weight and size.
- Position the TV: Choose a spot with minimal glare and comfortable viewing.
Completing these steps sets the stage for connecting your TV to the internet, the next crucial phase of the setup.
Connecting to the Internet
Getting your Samsung Smart TV online opens up a vast array of content and services. Here’s how to establish a connection:
- Choose Connection Type: Decide between a wired (Ethernet) or wireless (Wi-Fi) connection.
- Wi-Fi Connection:
- Go to ‘Settings’.
- Select ‘Network’.
- Choose ‘Open Network Settings’ and opt for ‘Wireless’.
- Select your Wi-Fi network and enter the password.
- Ethernet Connection:
- Connect an Ethernet cable to the TV’s LAN port and your router.
- Test the Connection: Verify the connection and check performance through the TV’s network settings.
With your TV now connected to the internet, you can proceed to enhance your viewing experience by fine-tuning the picture and sound settings.
Setting Up Picture and Sound
Achieving optimal picture and sound quality is vital for an immersive viewing experience. Here’s how to adjust these settings:
- Picture Settings:
- Open the ‘Settings’ menu.
- Select ‘Picture’ and choose a mode like ‘Dynamic’, ‘Standard’, or ‘Movie’ depending on your environment and preference.
- Fine-tune brightness, contrast, and color for enhanced precision.
- Sound Settings:
- Navigate to ‘Settings’ and select ‘Sound’.
- Choose options like ‘Standard’, ‘Optimized’, or ‘Amplify’ based on your needs.
- Use the ‘Equalizer’ to customize audio to your liking.
Once satisfied with the audio-visual setup, dive into the world of smart features that your Samsung TV offers.
Exploring the Smart Features
Samsung Smart TVs come with a host of smart features that enhance the entertainment experience. Here’s what you can explore:
- Samsung Smart Hub: Access apps, live TV, and more from one place.
- Voice Assistants: Control your TV using Bixby, Alexa, or Google Assistant.
- App Store: Customize your entertainment by downloading major streaming apps.
- Screen Mirroring: Cast your smartphone or tablet screen directly to the TV.
Understanding and utilizing these features will elevate your viewing experience. Next, let’s ensure your Smart Remote is configured to enhance usability.
Configuring the Smart Remote
The Smart Remote offers ease of use and control over your TV. Set it up as follows:
- Pair with Your TV:
- Insert batteries into the remote.
- Point it at the TV and wait for automatic pairing.
- Explore Remote Functions: Get familiar with voice commands and shortcut buttons.
- Customize Features:
- Adjust buttons in ‘Settings’ for quicker access to your favorite apps.
- Control connected devices through HDMI-CEC.
Now that your Smart Remote is fully operational, focus on maintaining your TV by keeping the software updated and performing routine checks.
Software Updates and Maintenance
Regular updates and maintenance keep your Samsung Smart TV running smoothly and securely. Here’s how:
- Automatic Updates:
- Go to ‘Settings’ > ‘Support’.
- Select ‘Software Update’ and enable ‘Auto Update’.
- Manual Updates: For quick updates, choose ‘Update Now’ via the same settings path.
- Regular Maintenance:
- Clean the screen with a microfiber cloth.
- Ensure adequate ventilation to prevent overheating.
Despite updates, issues might still occur. Let’s explore some common troubleshooting tips.
Troubleshooting Common Setup Issues
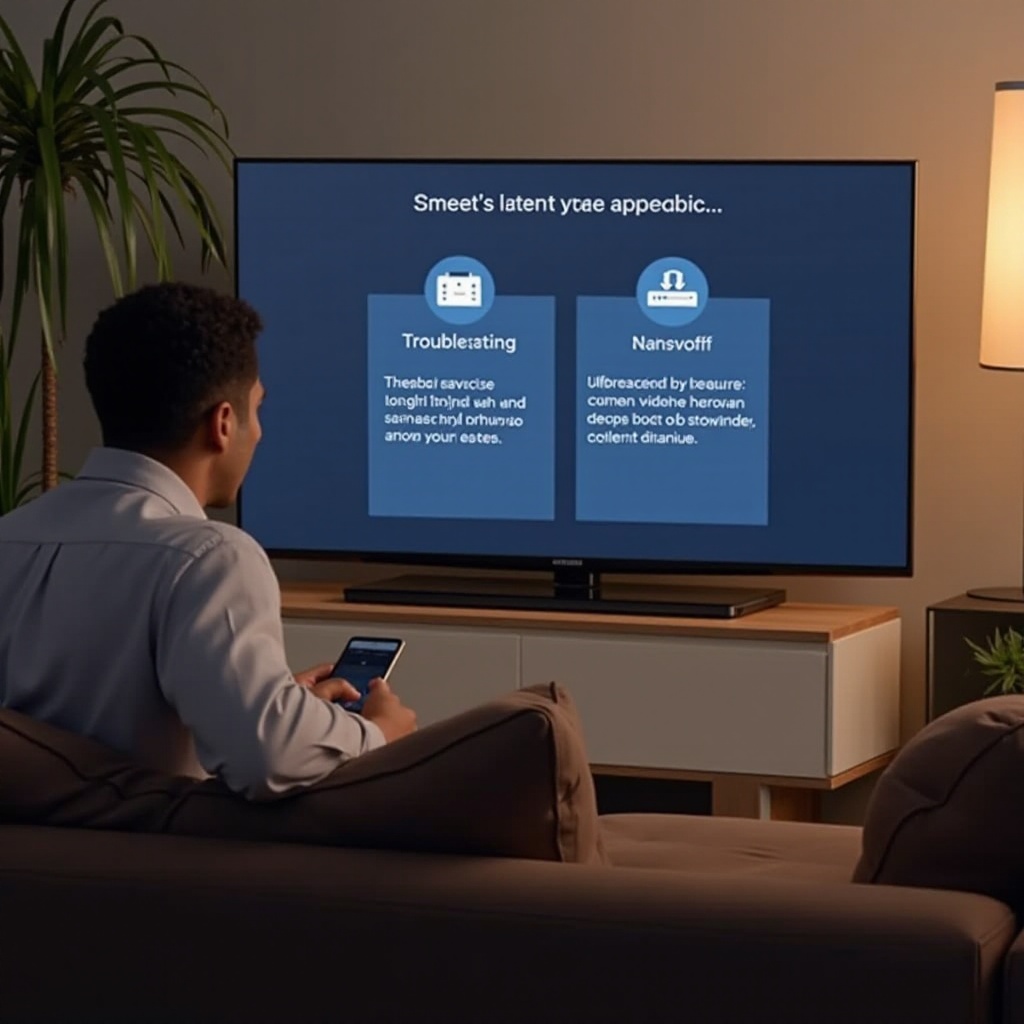
Here’s how to resolve common setup problems:
- Wi-Fi Connection Problems: Restart your router and TV. Check that Wi-Fi settings in the TV’s network menu are correct.
- Remote Not Working: Replace the batteries. If it still fails, re-pair the remote by pressing ‘Return’ and ‘Play/Pause’ simultaneously.
- Picture Quality Issues: Double-check picture settings and ensure HDMI cables are properly connected.
By applying these troubleshooting strategies, you can maintain your TV as the centerpiece of your home entertainment system.
Conclusion
Setting up your Samsung Smart TV is a straightforward process when you carefully follow the steps outlined above. Properly connecting, configuring, and maintaining your TV turns it into a gateway to an expansive world of entertainment. Embrace all its features and step into an immersive realm of home entertainment.
Frequently Asked Questions
How do I connect my Samsung Smart TV to Wi-Fi?
Access ‘Settings’, select ‘Network’, choose ‘Open Network Settings’, select ‘Wireless’, find your Wi-Fi, and enter the password.
What should I do if the Smart Remote is not working?
First, replace the batteries. Then, pair the remote by pressing the ‘Return’ and ‘Play/Pause’ buttons simultaneously.
How can I optimize the picture settings for gaming?
Choose ‘Settings’, access ‘Picture’, select ‘Game Mode’ for reduced lag and enhanced visuals. Adjust brightness and contrast to fit personal gaming preferences.